The job that was supposed to be flawless
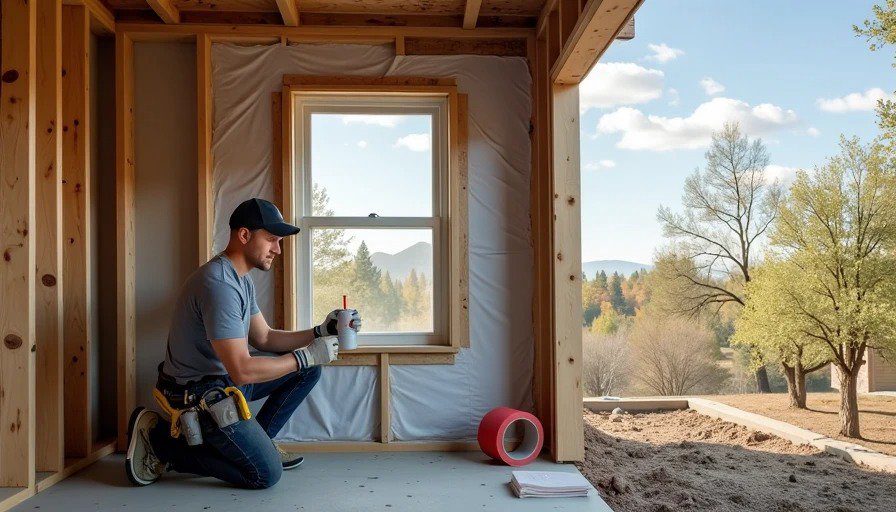
It was a south-facing window in my own house—a 2018 build in Denver. The original window had a small leak at the sill during a heavy spring storm. I replaced it myself, using the opportunity to document every step for what would become my standard flashing specification.
I used the best materials:
Tyvek CommercialWrap (not the standard HomeWrap)
Tyvek tape (the red stuff, applied at 70°F)
A prefabricated pan flashing with welded corners
Sill sealant—high-quality polyurethane
Backer rod in the rough opening
Proper tape sequence: bottom, then sides overlapping bottom, then top overlapping sides
I took photos of every layer. I checked the tape adhesion with a roller. I confirmed positive drainage at the sill. I walked away feeling confident that this window would outlast the house.
The spec was perfect. The installation was meticulous.
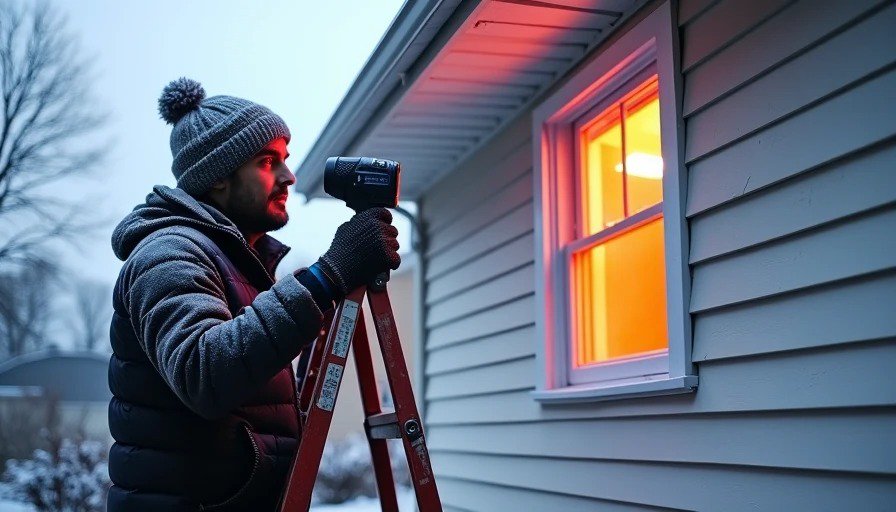
Four years later, I was up on a ladder checking a different issue on the same wall—a small discoloration on the siding below the window. I decided to inspect my own work while I was up there.
What I found
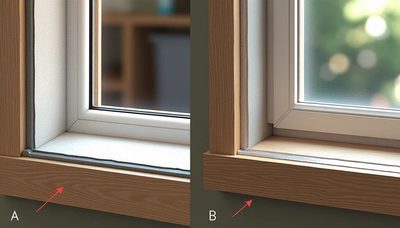
The first thing I noticed was a small gap at the bottom corner of the trim where the siding met the window frame. It wasn't visible from the ground—maybe 1/16 inch—but it was enough for wind-driven rain to get behind the trim.
I peeled back a corner of the siding to inspect the Tyvek underneath.
The Tyvek was intact. No tears, no holes, no UV degradation. The CommercialWrap had held up well on the south-facing wall.
The tape was still adhered. The red tape at the window opening was still bonded to the Tyvek and the window flange. No lifting, no wrinkles.
The pan flashing looked clean. No visible rust, no gaps at the corners, no sealant cracking.
At first glance, my flashing job looked perfect.
Then I took a closer look at the pan flashing's inboard edge.
The problem I hadn't seen
The pan flashing was a prefabricated metal unit with welded corners. It was installed correctly—over the Tyvek, under the window flange, sloped to the exterior.
But at the inboard edge—the edge closest to the house—there was a small gap between the pan flashing and the rough opening framing. About 1/8 inch. I hadn't noticed it during installation because the window flange covered it.
That gap was a capillary path. Water that got behind the siding could track along the pan flashing, reach the gap, and wick into the framing.
I checked the moisture meter at the stud adjacent to that gap. 16%. Not wet enough to rot, but elevated enough to indicate chronic moisture exposure.
The framing was still structurally sound. But after four years, the moisture had caused a slight discoloration on the sill plate. The wood was just beginning to show signs of the kind of degradation that, if left unchecked, would eventually require replacement.
I had installed my own window, with all the right materials and all the right steps, and I'd still left a gap that water could exploit.
What I'd missed
The gap at the inboard edge was caused by a combination of factors:
First: The rough opening was slightly oversized—about 1/4 inch wider than the window at the sill. That's within tolerance, but it meant the pan flashing didn't sit flush against the framing at the inboard edge.
Second: I had relied on sealant to fill the gap between the pan and the framing. Sealant will fill a gap, but it won't bridge a gap under pressure. After four years of thermal cycling, the sealant had shrunk slightly, creating a small void at the edge.
Third: I didn't use backer rod behind the sealant at the inboard edge. I'd used it elsewhere, but I'd overlooked this spot.
The result was a tiny gap—small enough to be invisible, big enough to let water wick into the framing over time.
What the thermal camera revealed
I brought the thermal camera inside and scanned the wall below the window on a cold morning.
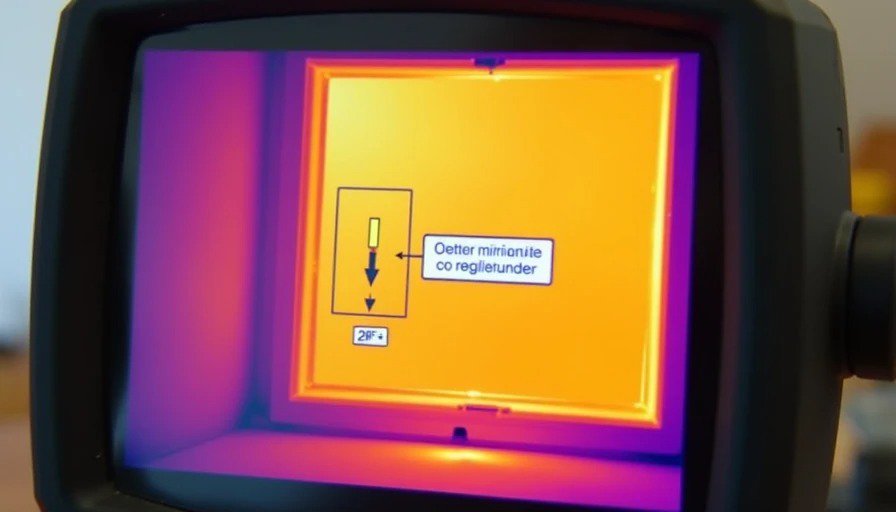
The camera showed a slight warm spot at the stud adjacent to the gap—about 2°F warmer than the adjacent studs. That's consistent with chronic moisture exposure: wet wood conducts heat more readily than dry wood, so it shows up as a warm spot on a cold morning.
The homeowner (my wife) had noticed that the wall below that window felt slightly cooler than the rest of the room on cold mornings. We'd assumed it was normal thermal bridging at the window. It was actually the first sign that the stud was holding moisture.
At 4°F temperature difference, the warm spot was subtle—easily missed by a casual inspection. But once I knew where to look, it was obvious.
What I hadn't done
I'd followed my own spec meticulously. But I'd missed a step that I now consider essential:
After installation, I should have done a water test on the window.
A water test—spraying water at the window from the exterior while observing the interior for moisture—would have caught the gap at the inboard edge. The water would have tracked along the pan flashing, found the gap, and shown up as a damp spot on the framing or the interior wall.
I'd skipped the water test because the window was on the second floor and I was working solo. It would have been inconvenient to set up. I told myself it was unnecessary because the installation was "perfect."
The gap was there, and the water test would have found it.
How I fixed it
The repair was straightforward:
Peeled back the siding around the window
Removed the old sealant at the inboard edge
Cleaned and dried the gap area
Installed backer rod
Applied a new bead of high-quality polyurethane sealant
Reinstalled the siding
Total repair time: about 2 hours. Total cost: about $25 in materials.
The moisture readings at the stud dropped from 16% to 12% within a month—still slightly elevated, but trending down. The discoloration on the sill plate hasn't progressed. The window itself is dry.
What I learned
Humility: My "perfect" spec wasn't perfect.
I'd been installing windows for years. I'd written about flashing details. I'd taught other contractors. I had every reason to believe my own work would be flawless.
But I still made a mistake. A small one, but a mistake nonetheless. A gap at the inboard edge that a simple water test would have caught before it caused any damage.
The lesson: The best spec still relies on installation quality. And installation quality means checking every detail, even the ones you think are perfect. My installation was good—better than most. But it wasn't flawless, and I should have tested it before calling it done.
What I'm changing in my own work
I've updated my standard flashing specification based on what I learned from my own failure:
**1. I now use a pan flashing with an integral back dam. The back dam—a raised edge at the inboard side—creates a positive barrier against water tracking into the framing. It eliminates the need for sealant at the inboard edge, which is where I failed.
2. I now include a water test as a standard step in every window installation. After the window is installed and the exterior trim is complete, I spray water at the window for 5 minutes while observing the interior. It's a simple test. It takes 15 minutes. It catches gaps that the eye misses.
**3. I now take thermal images of every window installation at the 6-month mark. The winter after installation, I scan each window with a thermal camera to look for warm spots that indicate moisture or air leakage. If I see a warm spot, I investigate before the damage progresses.
4. I now document the inboard edge of the pan flashing in my installation photos. I used to photograph the tape sequence and the exterior details. Now I photograph the pan flashing before the window goes in—including the inboard edge, so I can verify the sealant and the backer rod.
What I'd tell other contractors
I'd tell them what I wish I'd known four years ago:
Don't trust your own eyes. The gap at the inboard edge was invisible when I installed the window. It was only visible after I peeled back the siding and looked closely. Water doesn't care what looks good—it finds the gaps you can't see.
Test everything. A water test is cheap. A repair is expensive. I caught my mistake at year four, and it cost me $25 in materials. If I'd waited another four years, the stud would have rotted, and the repair would have cost $2,000 or more.
You're not immune. I've been doing this for 18 years. I know the standards. I know the materials. And I still made a mistake. If you think you're too good to make a mistake, you're probably already making one.
Write down your spec. If I'd had a written checklist that included "water test" and "thermal image" and "inboard edge gap check," I would have caught the issue before it happened. I had the knowledge. I didn't have the discipline to follow through.
The bottom line
Four years ago, I installed a window in my own house. I used the best materials and followed every step I'd ever recommended to clients. I thought it was perfect.
I was wrong.
The gap at the inboard edge was small, but it was real. Water had been wicking into the framing for four years. The damage was minimal—caught early—but it would have progressed if I hadn't inspected it.
I learned more from my own mistake than I've learned from a hundred other installers' failures. And I've changed my spec to reflect it.
The perfect flashing job doesn't exist. The best you can do is catch your mistakes before they cause real damage. I caught mine at year four. Next time, I'll catch it at year zero.

No notes on this sheet yet.